A good or a bad studio microphone choice can add sparkle or ruin your content. Today, you have a lot of choices, such as ribbon, dynamic or condenser microphones. Based on your recording type, which one is right for your home recording studio? Choosing the best studio microphone for your recording sessions can be complex. Even more, if you are new to your studio and have never used a microphone for recording, No worries! Here is the complete guide to choosing the perfect studio microphone for your upcoming content. Let’s move on!
The Job Of A Microphone
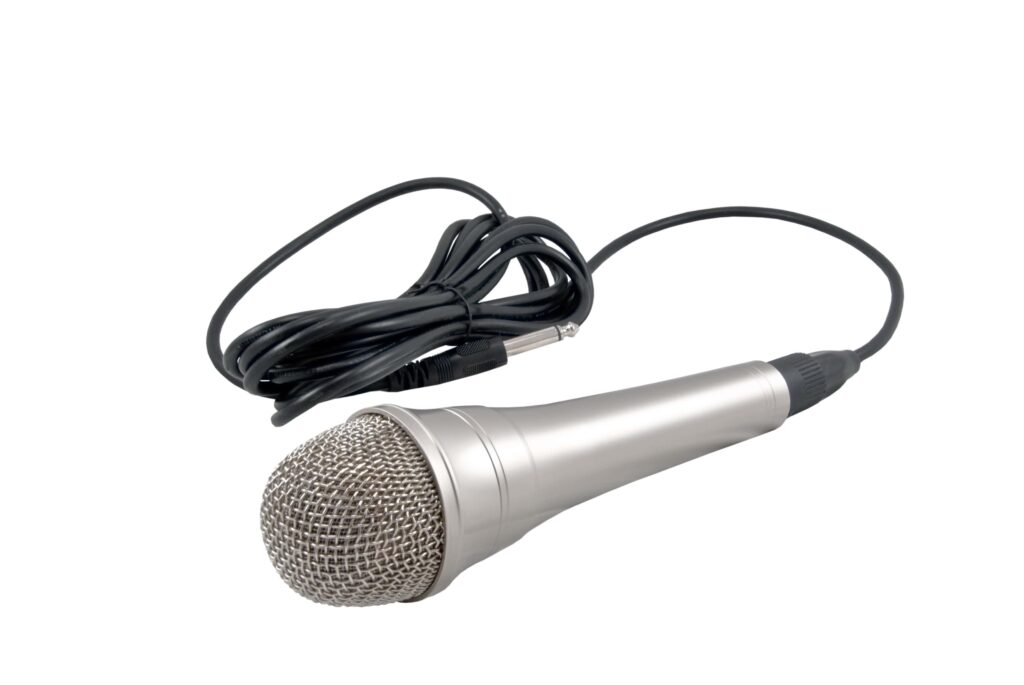
The ideal microphone can capture the sound of an instrument or other sound source as accurately as possible.
However, engineers and producers have used microphones and preamps to add character to the sound over the years. Specific recordings, vocalists, or instruments have particular sound requirements that can create pleasing sound flavours.
Additionally, many sound characteristics are created as the audio signal travels from the microphone to the preamp and recording device. Now, let’s go to choosing the best studio microphone.
Choosing a Perfect Studio Microphone: What to look for?
Understanding microphone polar patterns
When choosing a microphone, an essential factor is the polar pattern. It’s critical to consider the pickup characteristics of your microphones based on your room and intended use. The polar pattern is the area of sound that a microphone picks up. All directions of sound are picked up equally by the omnidirectional microphone. It reduces wind noise and provides equal audibility in all directions, making it ideal for microphones.
A cardioid polar pattern is essential for home studio recording as they have limited control over any unwanted sounds and noise in the environment. It will absorb sound directly before it and eliminate unwanted sound reflections in the surrounding area.
Considering the phantom power or supply power
The power supply for studio microphones can be a critical factor to consider. Phantom power is the DC electrical energy that USB microphones have and is typically carried through microphone cables at +48 V. They can power microphones without requiring bulky external power supplies.
Most high-end microphones have a power supply or require phantom power. Compared to many audio interfaces, this feature usually gives the user a higher-quality input signal. Microphones requiring a power source will accept it, while those without will ignore it.
Understanding microphone diaphragm sizes
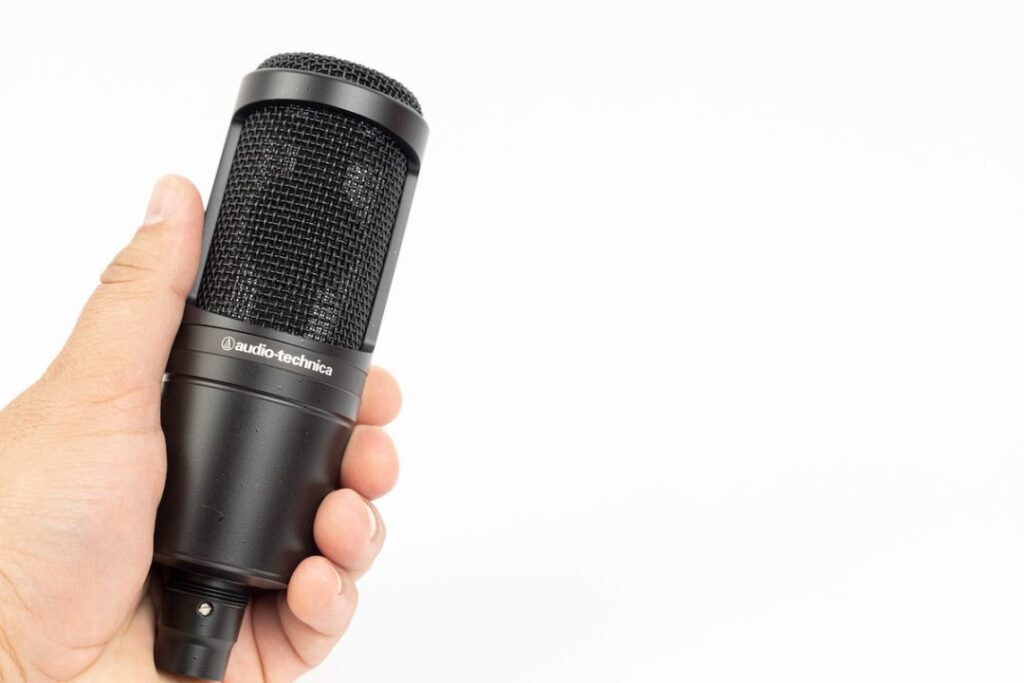
The size of the capsule of a condenser or dynamic microphone determines its classification. Typically, it has two classes: small diaphragm and large diaphragm, each with its own studio space and the necessary equipment. A more modern invention, the medium diaphragm microphone combines the best features of large and small diaphragm microphones into one hybrid device.
Learning about the frequencies of studio microphones
The microphone can pick up a wide range of frequencies, from low to high. It is very important to understand the frequency response of a microphone before purchasing.
The actual size of a microphone’s response to any given frequency range is known as its frequency response. For example, it would be wise to use a microphone with a frequency range of 80 Hz to 15 kHz if you want to record your vocals.
Read a Microphone Frequency Response Chart
You can learn much about what circumstances are suitable for a particular microphone and what is not by looking at that microphone’s frequency response chart. In theory, microphones are tested in an anechoic chamber at the factory to produce frequency response diagrams. An anechoic chamber is a space designed specifically for audio assessment. The goal is to create a controlled environment where all microphones can be tested equally, meaning there should be no sound reflection in the room.
Thinking of microphone accessories
After you get a microphone in place, what next? A couple of microphone accessories may be.
Investing in a hardware preamp can help you improve your microphone signal. However, it’s good to know that most audio interfaces come with built-in solid-state preamps that sound clear if you’re starting or need to figure out how user-friendly they are.
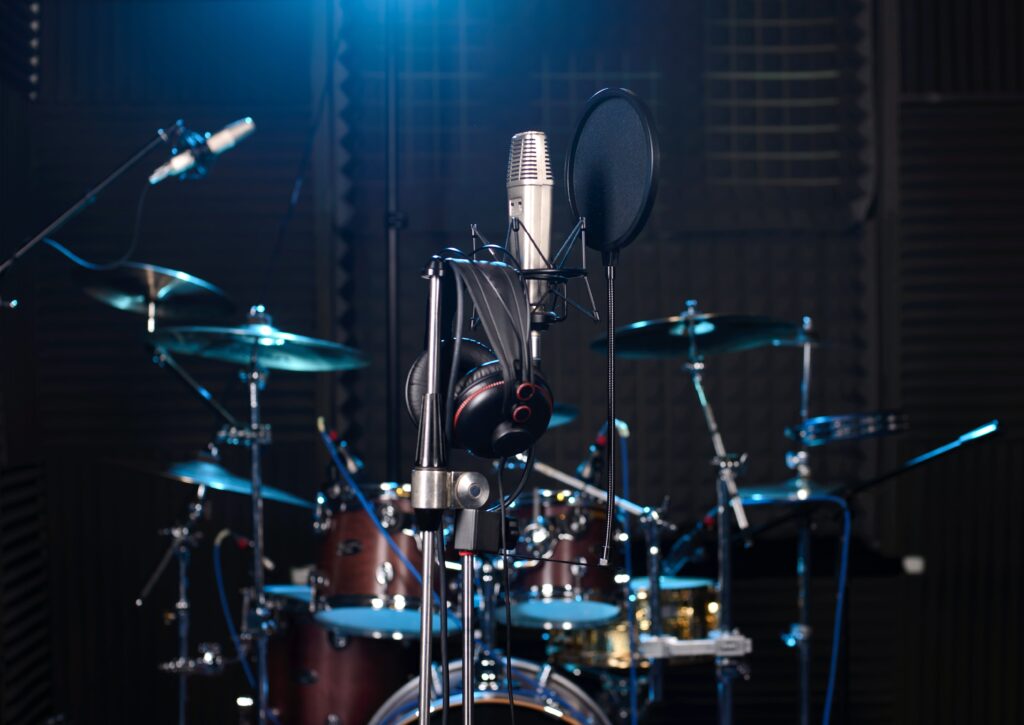
A sturdy, durable stand can protect Your precious microphone from breaking or knocking over. Flutter or echo when recording can also be a big problem for people who still need to invest in room acoustic correction. If you plan to record vocals with a microphone, use a pop filter to minimize the plosive sounds produced when high-energy air enters the microphone. You must purchase a pop filter separately for some vocal microphones, although others come with one. Also, like most things in life, a lot depends on your budget.
Purchasing a reflective filter or vocal booth will ensure that unwanted room noise will not interfere with your recordings. This is a great solution for professionals or artists on a budget regarding recording.
USB or XLR?
A USB microphone is an excellent and inexpensive choice for running a podcast or recording voiceover. The low quality of USB microphones is their only drawback. While they are well suited for voiceover applications, their quality may deteriorate if used for audio-related tasks, such as music production. An XLR microphone would be more useful in such a case.
Although XLR microphones are more expensive and require an audio interface, they are of higher quality. This is because when an XLR connector is connected to an audio interface, the mechanics of the connector cancel out the induced noise in the cable. Using XLR is the way to go if you are serious about your audio efforts. But if you want to start a podcast but need more money, a USB microphone will do just fine.
Now that you understand the basics of microphones for home recording studios consider additional equipment that can enhance your experience. As your home audio recording skills improve, you should invest in microphone accessories, such as a USB mixer, to improve the quality of your final products. It all starts in your home recording studio with your best studio microphone when you become successful.
