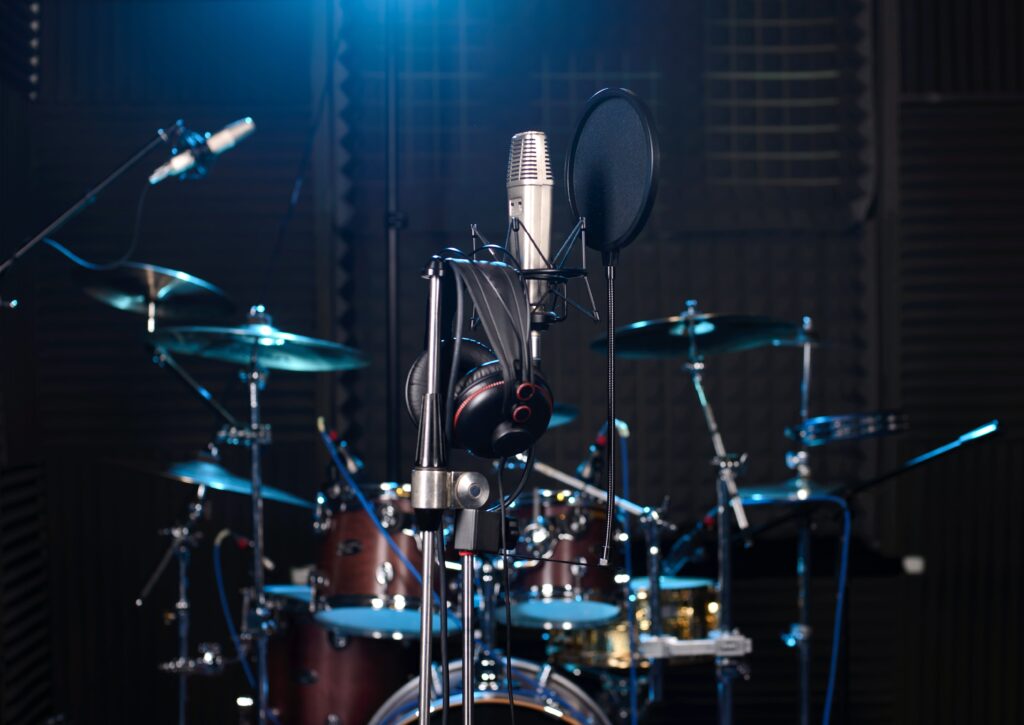
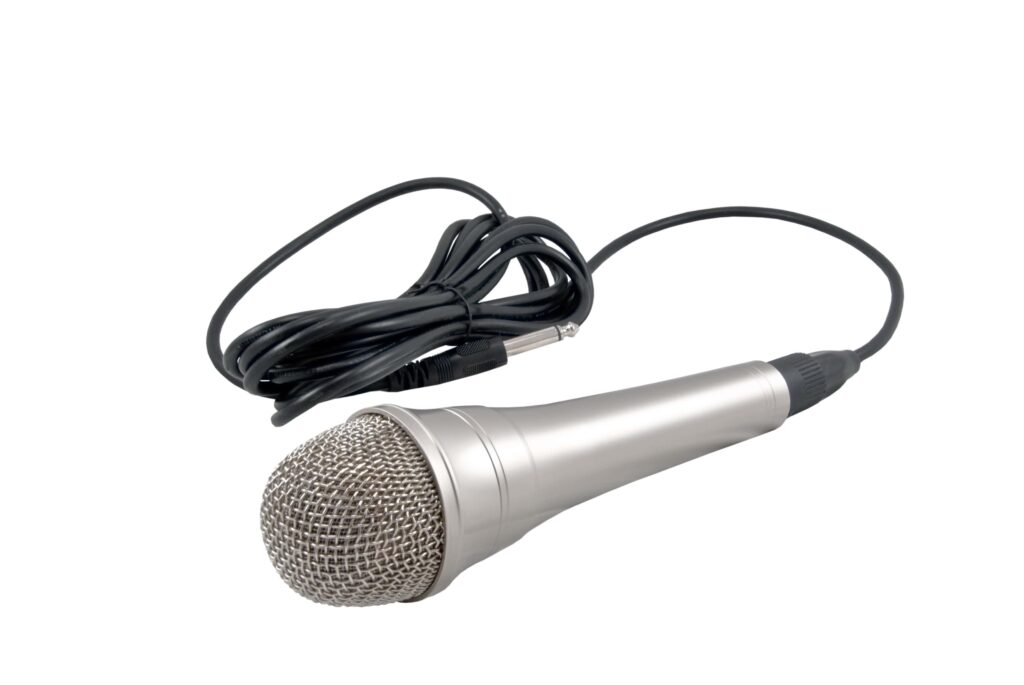
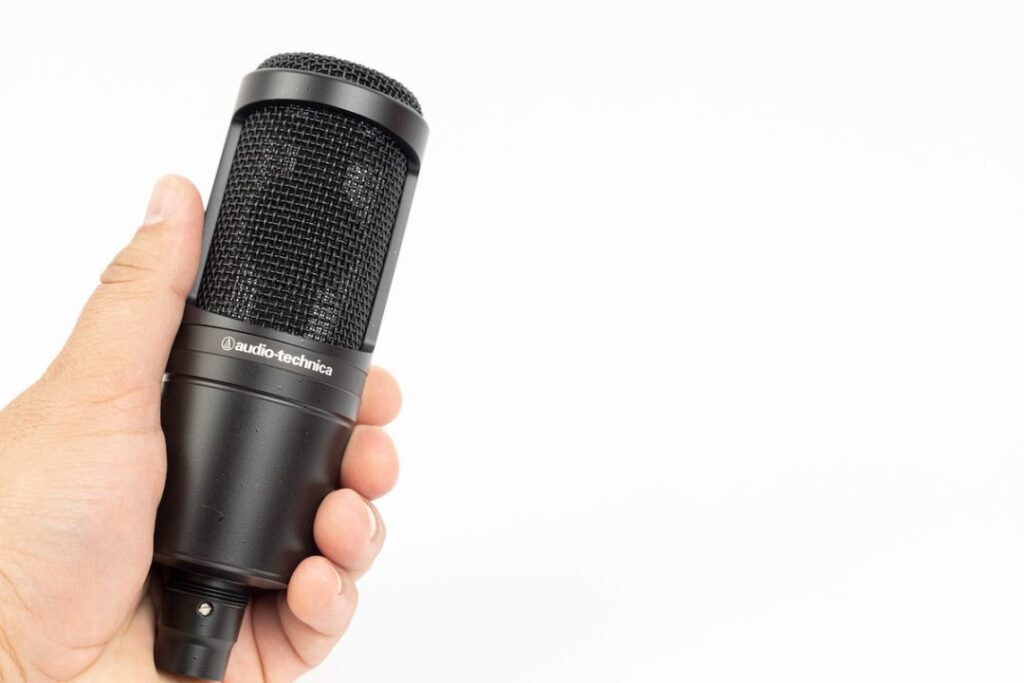
The kick drum, also known as the bass drum, is a central component of many musical genres and is typically the foundation of the drum kit. As such, capturing the kick drum’s full sound in recordings and live sound situations is important. A kick drum microphone, or kick mic, is specifically designed to capture the low-frequency sound of the kick drum and transmit it accurately to the sound system.
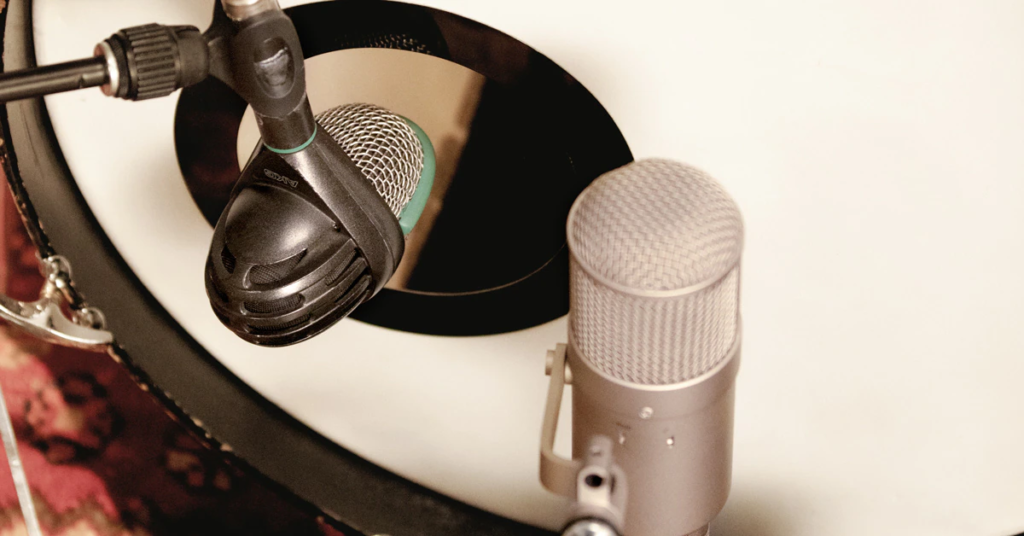
Types of Kick Drum Microphones
Several kick drum microphones are available, each with features and characteristics. Some common types of kick drum microphones include:
- Dynamic microphones: They are typically used for recording and live sound situations due to their ability to handle high sound pressure levels (SPLs) and their rugged construction. They are generally less sensitive than other types of microphones, which makes them well-suited for capturing the powerful sound of a kick drum.
- Condenser microphones: Condenser microphones are more sensitive than dynamic microphones. They are often used in recording studios due to their ability to capture a wide frequency range and provide a detailed, accurate sound. They require a power source, either via a battery or external phantom power, to operate.
- Boundary microphones: Boundary microphones, also known as PZM (pressure zone microphones), are designed to be placed on a smooth surface, such as the floor or a tabletop. They use a pressure gradient pickup pattern and are often used to capture the sound of a kick drum in a live sound setting.
Factors to Consider When Choosing a Kick Drum Microphone
When choosing a kick drum microphone, there are several factors to consider, including:
- Frequency response: This response of a microphone refers to the range of frequencies that it can accurately capture. Choosing one with a wide frequency response is important for a kick drum microphone to capture the full range of the sound.
- Polar pattern: This microphone pattern refers to the direction in which it is most sensitive to sound. A cardioid or unidirectional polar pattern is typically best for a kick drum microphone, as it will only pick up sound from the front of the microphone, reducing the risk of picking up unwanted ambient sound.
- Durability: Kick drum microphones are subjected to a lot of wear and tear, especially in live sound situations. Choosing a microphone built to withstand the rigors of touring and regular use is important.
- Price: Kick drum microphones can range from relatively inexpensive to quite expensive. It is very important to consider and understand your budget and choose a microphone that fits your needs and price range.
Importance of Kick Drums in Music Production
A well-crafted kick drum sets the foundation for the entire song. It defines the tempo and groove, driving the listener’s sense of rhythm and pulse. In genres like rock, pop, electronic, hip-hop, and even jazz, the kick drum acts as the heartbeat, giving the music its pulse and character. In dance music, the kick drum often takes centre stage, defining the energy and intensity of the track.
Choosing the Right Microphone for the Kick Drum
Given the kick drum’s pivotal role, selecting the right microphone for capturing its essence is crucial in music production. Not all microphones are created equal, and the kick drum’s deep, low-frequency thump presents unique challenges and opportunities. This is where the choice of microphone comes into play.
Dynamic microphones have a choice for kick drums, having the ability to handle different types of sound pressure and capture the punch and warmth of the drum. Condenser microphones, on the other hand, excel at capturing the nuances and transient details of the kick drum. The selection depends on the desired sound and the genre of music.
Impact on Overall Sound
The choice of a kick drum microphone significantly impacts the overall sound of a recording. A dynamic microphone may emphasize the kick drum’s thump and attack, resulting in a more robust and assertive sound. In contrast, a condenser microphone may capture the subtleties of the kick drum’s resonance and tonal qualities, lending a more nuanced and transparent character to the mix.
Moreover, the microphone placement and techniques used play a pivotal role in shaping the final sound. Placing the microphone closer to the kick drum’s beater head captures more attack while moving it farther into the drum captures more body and resonance.
Techniques for Recording Kick Drums
Recording a kick drum requires a combination of the right microphone and intelligent placement techniques. Here are some tips and techniques to help you capture the best sound from your kick drum:
- Microphone Selection: Choose a microphone that suits your recording goals. Dynamic microphones like the Shure SM57 or specialized kick drum microphones like the AKG D112 are popular choices for their ability to handle high sound pressure levels and capture the punchy characteristics of the kick drum.
- Placement Depth: Experiment with the microphone’s distance from the kick drum head. microphone can be placed closer to the beater head to capture more attack and “click,” while moving it deeper into the drum captures more low-end and resonance.
- Positioning Angle: Angle the microphone slightly off-axis to the kick drum’s beater head. This can help minimize the capture of excessive air movement and result in a cleaner sound.
- Inside or Outside: Depending on the sound you want, you can position the microphone inside the kick drum (usually closer to the beater head) or just outside the drum’s sound hole. Inside placement emphasizes attack, while outside placement captures more of the drum’s natural tone.
- Use of Dampening: Consider using dampening materials inside the kick drum to control excessive resonance if needed. This can be achieved with pillows, blankets, or specialized dampening products.
- Phase Alignment: Pay attention to phase coherence when using multiple microphones. If you’re using a closed microphone and a distant microphone, ensure they are in phase with each other to avoid cancellation and muddiness in the mix.
- Experimentation: Feel free to experiment with different microphone placements and combinations to achieve the desired kick drum sound for your specific project.
Microphone Placement’s Effect on Sound
The placement of the microphone has a profound impact on the sound and tone of the kick drum. Placing it closer to the beater head captures more of the initial attack, resulting in a sharper and punchier sound. Conversely, positioning it deeper inside the drum captures more low-end resonance, creating a fuller and rounder tone.
The angle and distance from the kick drum also affect the balance between attack and sustain. A well-placed microphone can emphasize the drum’s natural tone and character, contributing to the overall texture and dynamics of the drum sound in the mix.
Popular Kick Drum Microphones
Some popular kick drum microphones on the market include:
- Shure Beta 52A: The Shure Beta 52A is a dynamic microphone with a frequency response specifically tailored for kick drums and other bass instruments. It has a super-cardioid polar pattern and can handle high SPLs, making it well-suited for live sound situations.
- AKG D112: The AKG D112 is a dynamic microphone with a frequency response tailored to capture the low-end frequencies of a kick drum. It has a cardioid polar pattern and a built-in shock mount, which helps to reduce handling noise.
What are the different kinds of kick drum microphones available?
1. Dynamic microphones
2. Condenser microphones
3. Ribbon microphones
What mic is used for a kick drum?
How do you mic a kick drum?
Inside the drum: One option is to place the microphone inside the drum, aiming it at the beater. This can help capture a punchy, focused sound and reduce bleed from other instruments.
Outside the drum: Alternatively, you can place the microphone outside the drum, aiming it at the drumhead. This can help capture the full frequency range of the drum, including the low frequencies.
Multiple microphones: Some engineers may use multiple microphones on the kick drum, such as one inside the drum and one outside, or one on the beater and one on the drumhead. This can allow you to blend different sounds and create a more complex, full-frequency sound.
When positioning the microphone, it’s important to consider the specific characteristics of the drum and the sound you’re trying to achieve. In general, it’s a good idea to place the microphone about 6 inches away from the drumhead and slightly off to the side rather than directly in front of the beater. This can help reduce the beater noise and allow you to capture the full frequency range of the drum.
It’s a good idea to use a shock mount or other type of suspension system to isolate the microphone from vibrations and to use a pop filter to reduce plosive sounds. Finally, be sure to listen to the drum through headphones or monitors to ensure you get a good sound.

