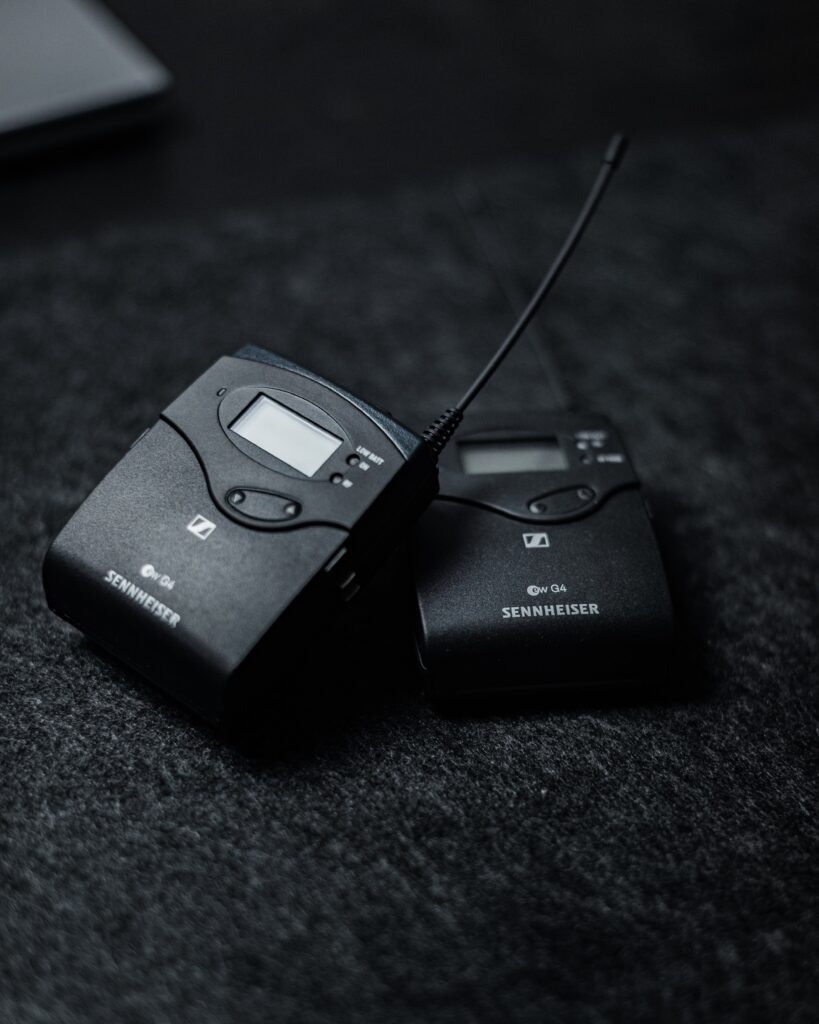
A lavalier microphone, also known as a lapel or collar microphone, is a compact, portable microphone that is usually worn on the body and is frequently fastened to clothes like a collar or lapel. Georges Lavalier, a French actor and inventor, invented this style of microphone in the late 1920s. He looked for a method other than holding a microphone to boost his voice on stage.
The first Lavalier microphones were large, heavy devices that were mostly used in theater and television. They didn’t become well-known until the 1960s, when smaller, portable versions started to appear. Early microphones frequently had long connections attaching them to different amplification devices, which restricted mobility.
Lavalier mics rose to prominence in TV and film production throughout the 1970s and 1980s because they allowed performers to roam around freely while still producing clear vocals. These mics saw widespread use at corporate events, seminars, newscasts, and several other venues in the 1990s and 2000s. Today, lavalier mics are extensively used for a variety of purposes, including video production, interviews, and live performances.
What Is a Lavalier Microphone?
A lavalier microphone is a small, discrete microphone that can be worn around the neck.
In calm settings, these mics are typically used to record talks or musical performances.
They come in a variety of models, some of which only record sound coming from one direction while others record sound coming from all directions. Lapel microphones are referred to as lavalier microphones, thus the colloquial acronym “Lavs.”
Types of a Lavalier Microphone
- Omnidirectional lavalier Microphone
- Unidirectional Lavalier Microphone
- Wired Lavalier Microphone
- Wireless Lavalier Microphone
Features of a Lavalier Microphone
Lavalier microphones, also called lapel microphones or clip-on microphones, are small, portable microphones that are often worn on the lapel of a shirt or jacket. They can be used for live performances, presentations, interviews, and TV production, among other things. Here are some things that most lavalier microphones have in common:
- Size: Most lapel microphones are small and light, making them easy to wear and hide.
- Attachment feature: Many of these microphones include a built-in clip or other mechanisms for securing them to clothing.
- Polar patterns: Various polar patterns, including omnidirectional, cardioid, and hypercardioid, impact how the microphone captures sound.
- Frequency response: These microphones can capture a broad spectrum of frequencies, with certain models exhibiting varying degrees of sensitivity to specific frequency ranges.
- Sensitivity: Various types of microphones in this category exhibit different levels of sensitivity to sound.
- Connectivity: Microphones of this type can offer both wired and wireless options. Wired variants utilize microphone cables to connect to sound systems or recording devices, whereas wireless models employ a transmitter and receiver for wireless audio signal transmission
- Power requirements: While certain microphones, such as condenser types, require external phantom power for operation, others, like dynamic microphones, function without this need
What Is a Lavalier Microphone?
How to use a Lavalier Microphone?
Here are the steps in bullet points for setting up a lavalier microphone:
1. Gather your equipment: Lavalier microphone, microphone cable (for wired models), or a transmitter and receiver (for wireless models), and a sound system or recording device.
2. Wired Setup: Connect the microphone using the cable to your sound system or recording device.
3. Wireless Setup: Turn on the transmitter and receiver, then pair them following the manufacturer’s instructions.
4. Attach the microphone: Use the microphone’s clip or attachment to secure it to your clothing. Position it near your mouth without placing it directly in front to avoid popping sounds.
5. Wireless Considerations: Ensure the transmitter and receiver are close and unobstructed to maintain a clear signal.
6. Adjust settings: Modify the volume and other settings on your sound system or recording device to achieve the desired sound quality.
7. Test the microphone: Ensure it’s working correctly by speaking or making a noise.
8. Shutdown: When finished, power off the transmitter and receiver (for wireless models) and unplug the cable (for wired models).


